

Ubuntu邮件服务器如何配置虚拟域名
若想在Ubuntu上让邮件服务器支持虚拟域名,一般得用到Postfix和Dovecot。下面是一份基础的步骤指南:1. 安装Postfix和Dovecot首先,更新你的系统包列表并安装Postfix和Dovecot:sudo apt updatesudo apt install postfix do
若想在Ubuntu上让邮件服务器支持虚拟域名,一般得用到Postfix和Dovecot。下面是一份基础的步骤指南:
1. 安装Postfix和Dovecot
首先,更新你的系统包列表并安装Postfix和Dovecot:
sudo apt update
sudo apt install postfix dovecot-core dovecot-imapd dovecot-lmtpd
2. 配置Postfix
编辑Postfix的主配置文件 /etc/postfix/main.cf:
sudo nano /etc/postfix/main.cf添加或修改以下配置:
myhostname = mail.yourdomain.com
myorigin = /etc/mailname
inet_interfaces = all
mydestination = $myhostname, localhost.$mydomain, localhost, $mydomain
mynetworks = 127.0.0.0/8 [::ffff:127.0.0.0]/104 [::1]/128
home_mailbox = Maildir/
smtpd_relay_restrictions = permit_mynetworks permit_sasl_authenticated defer_unauth_destination
smtpd_sasl_auth_enable = yes
smtpd_sasl_security_options = noanonymous
smtpd_sasl_local_domain = $myhostname
smtpd_recipient_restrictions = permit_sasl_authenticated,permit_mynetworks,reject_unauth_destination
保存并退出编辑器。
3. 配置Dovecot
编辑Dovecot的主配置文件 /etc/dovecot/dovecot.conf:
sudo nano /etc/dovecot/dovecot.conf添加或修改以下配置:
mail_location = maildir:~/Maildir
protocols = imap lmtp
保存并退出编辑器。
4. 配置虚拟域名
创建一个新的文件 /etc/postfix/virtual 来存储虚拟域名的映射:
sudo nano /etc/postfix/virtual添加虚拟域名的映射,例如:
@yourdomain.com user1@yourdomain.com
@yourdomain.com user2@yourdomain.com
保存并退出编辑器。
5. 更新Postfix配置
编辑Postfix的主配置文件 /etc/postfix/main.cf,添加以下行以启用虚拟域名映射:
virtual_alias_maps = hash:/etc/postfix/virtual保存并退出编辑器。
6. 更新Postfix哈希表
运行以下命令以更新Postfix的哈希表:
sudo postmap /etc/postfix/virtual7. 重启Postfix和Dovecot
重启Postfix和Dovecot服务以应用更改:
sudo systemctl restart postfix
sudo systemctl restart dovecot
8. 配置防火墙
确保你的防火墙允许SMTP和IMAP/POP3流量:
sudo ufw allow smtp
sudo ufw allow imap
sudo ufw allow pop3
9. 测试配置
使用邮件客户端(如Thunderbird)配置你的邮件账户,并测试发送和接收邮件。
按照上述步骤,你应当能在Ubuntu上顺利为邮件服务器配置好对虚拟域名的支持。当然啦,根据你自身的特定需求,或许还得进行其他的一些配置与调整呢。
详细讲解Windows系统安装步骤,包括使用Media Creation Tool制作启动U盘、BIOS/UEFI启动设置、磁盘分区选择及驱动激活检查。区分就地重装与全新安装,帮助用户安全完成系统部署。
想从 Linux 换回 Windows?本文详解制作安装介质、进入 BIOS/UEFI 启动菜单、删除 Linux 分区及安装 Windows 的全过程。重点提示数据备份与磁盘确认,避免误删其他硬盘数据。
学习如何安装和配置 ObjectDock,包括设置 Dock 位置、图标大小、自动隐藏、添加应用快捷方式、更换背景主题以及设置开机自启,打造高效美观的 Windows 桌面环境。
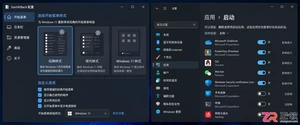
找不到StartAllBack开机启动选项?本文详解如何在Windows设置、任务管理器及启动文件夹中定位StartAllBack启动项,并验证其是否随系统自动运行,解决重启后界面恢复默认的问题。
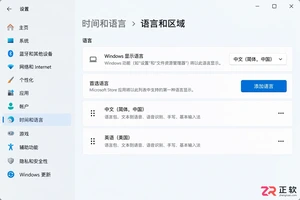
遇到Windows界面无法切换为中文的情况?本文详解如何区分输入法与显示语言,排查单一语言版本限制,正确安装中文语言包并解决下载失败问题,助您快速恢复中文界面。
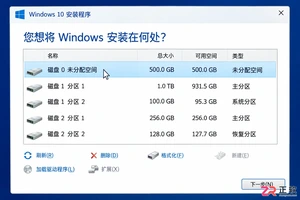
Windows 10 安装过程中遇到分区混乱或报错?本教程指导你如何在备份数据后,正确识别目标磁盘,匹配 UEFI/GPT 启动模式,并通过安装程序自动重建系统分区,确保全新安装顺利启动。
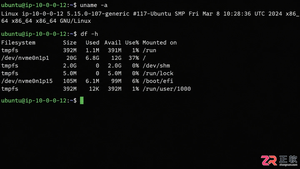
详解 1Panel 在 Linux 服务器上的在线安装步骤。涵盖环境检查、SSH 终端操作、官方脚本执行、Docker 依赖处理及浏览器访问配置,助您快速搭建运维管理面板。
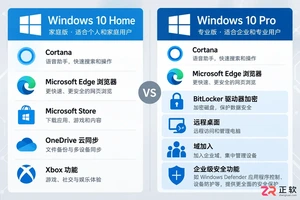
想知道如何将 Windows 10 家庭版升级到专业版?本文详解通过微软商店购买和输入产品密钥两种官方升级方法,说明数据保留情况、成本计算及升级后如何验证 BitLocker 和远程桌面等功能,助您安全获取专业版权限。
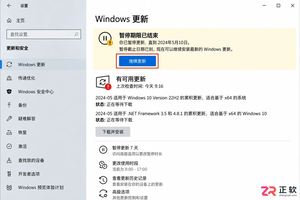
Windows 10 自动更新突然重新启用怎么办?本文详解暂停35天期限结束、误点继续更新、重启后任务续跑及公司域策略覆盖等常见原因,提供查看更新历史、设置活动时间和正确使用疑难解答的操作指南,帮助用户在支持结束前安全管理系统更新。
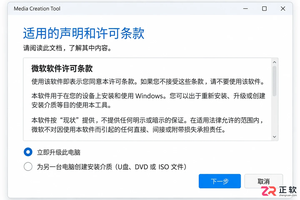
解决 Media Creation Tool 在下载 Windows 镜像时速度慢、中断或报错的问题。本文按操作顺序指导用户检查网络连接、系统权限、磁盘空间及 U 盘状态,确保顺利制作可启动安装介质。




Photoshop 2026 是 Adobe 推出的专业图像处理与视觉设计软件,支持 Windows、macOS 和 iPad 等平台,广泛应用于摄影修图、电商设计、平面海报、数字绘画及视觉合成等创作场景。

Blender 是一款免费开源、跨平台的专业 3D 创作软件,集建模、动画、渲染、视频编辑与视觉合成等功能于一体,广泛应用于影视动画、游戏设计和建筑可视化等领域。软件支持 Cycles 物理渲染器与 Eevee 实时渲染引擎,并提供多边形建模、骨骼绑定、物理模拟等专业工具。Blender 兼容 Windows、macOS 和 Linux 系统,安装包轻巧、运行流畅,依托活跃的全球开发者社区持续更新,是从初学者到专业创作者都值得选择的正版 3D 创作工具。


Photoshop 2026 是 Adobe 推出的专业图像处理与视觉设计软件,支持 Windows、macOS 和 iPad 等平台,广泛应用于摄影修图、电商设计、平面海报、数字绘画及视觉合成等创作场景。
Blender 是一款免费开源、跨平台的专业 3D 创作软件,集建模、动画、渲染、视频编辑与视觉合成等功能于一体,广泛应用于影视动画、游戏设计和建筑可视化等领域。软件支持 Cycles 物理渲染器与 Eevee 实时渲染引擎,并提供多边形建模、骨骼绑定、物理模拟等专业工具。Blender 兼容 Windows、macOS 和 Linux 系统,安装包轻巧、运行流畅,依托活跃的全球开发者社区持续更新,是从初学者到专业创作者都值得选择的正版 3D 创作工具。