

ubuntu下python安装后如何启动服务
在Ubuntu中,将Python脚本作为后台服务可通过systemd管理。先为脚本添加执行权限,再创建服务文件并配置User、Group、ExecStart等参数,然后重载配置、启动服务,检查状态为active即可。可设置开机自启,支持停止、重启操作。

- 第一步,先给你的 Python 脚本加上执行权限。用
chmod搞定:
chmod +x /path/to/your/python_script.py- 接着,创建一个 systemd 服务文件。用
nano或vim打开一个新文件,路径为/etc/systemd/system/my_python_service.service,把下面这些内容贴进去:
[Unit]
Description=My Python Service
After=network.target

[Service]
Type=simple
User=
Group=
WorkingDirectory=/path/to/your/script/directory
ExecStart=/usr/bin/python3 /path/to/your/python_script.py
Restart=on-failure

[Install]
WantedBy=multi-user.target
注意把 /path/to/your/python_script.py 换成脚本的真实路径。
- 然后,让 systemd 重新加载配置:
sudo systemctl daemon-reload- 启动刚定义的服务:
sudo systemctl start my_python_service- 检查服务是否正常运行:
sudo systemctl status my_python_service如果状态显示 active (running),说明脚本已经成功跑起来了。
- 想让它在系统启动时自动启动?执行:
sudo systemctl enable my_python_service- 需要停止或重启服务,用这两个命令:
sudo systemctl stop my_python_service
sudo systemctl restart my_python_service
最后多说一句:以上步骤默认用的是 Python 3(路径 /usr/bin/python3)。如果你还在用 Python 2,记得把路径换成 /usr/bin/python2。
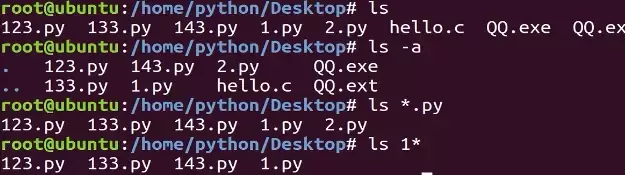
本教程指导Ubuntu新手打开终端,通过pwd、ls、cd、mkdir和touch命令完成基础文件目录操作。适用于桌面版、虚拟机及WSL环境,提供从查看路径到创建测试文件的完整验证步骤,帮助读者建立命令行操作的安全意识与正确习惯。
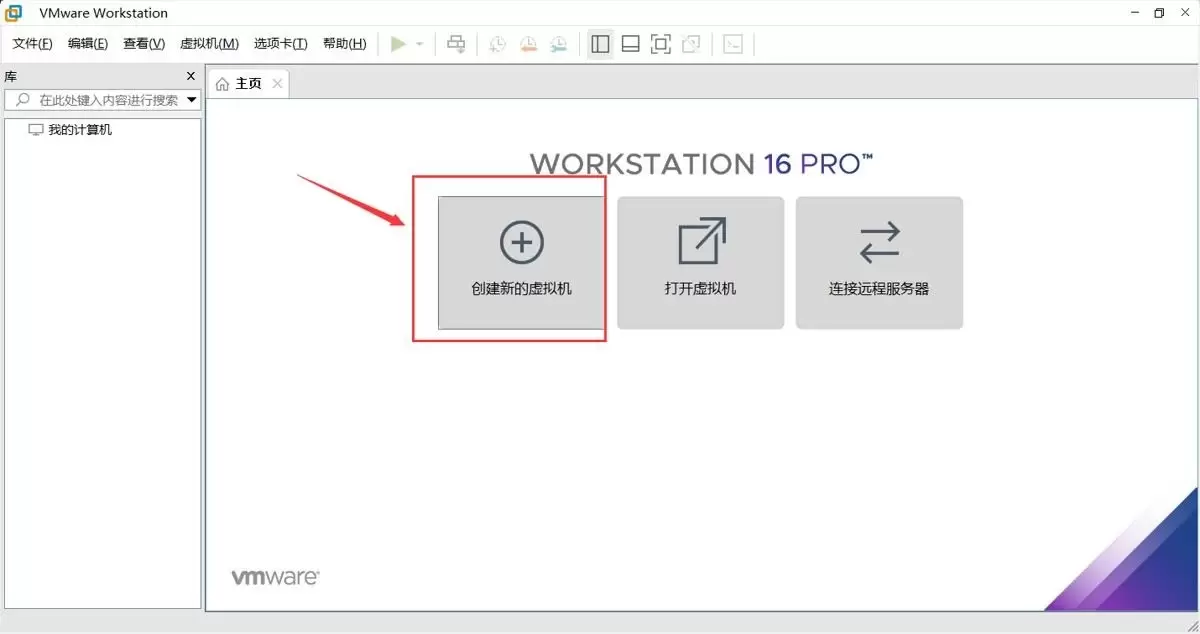
本文提供在VMware中安装Ubuntu并验证启动的完整流程。适用于首次练习Linux或搭建开发环境的用户。按步骤完成虚拟机创建、ISO挂载、硬件分配与安装后,可通过终端命令确认版本、内核与网络状态,确保系统可正常使用。
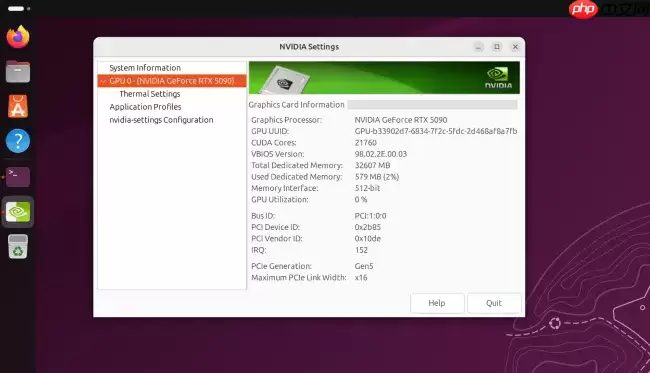
Ubuntu26.04LTS针对英伟达显卡在Wayland+GNOME环境进行性能调优,通过修改gbm_surface_lock_front_buffer函数,将帧渲染等待时间从毫秒级降至微秒级,显著提升UI响应和画面流畅度。该补丁已作为发行版专属补丁集成,确保LTS用户无需等待上游整合即可获得优化体验。
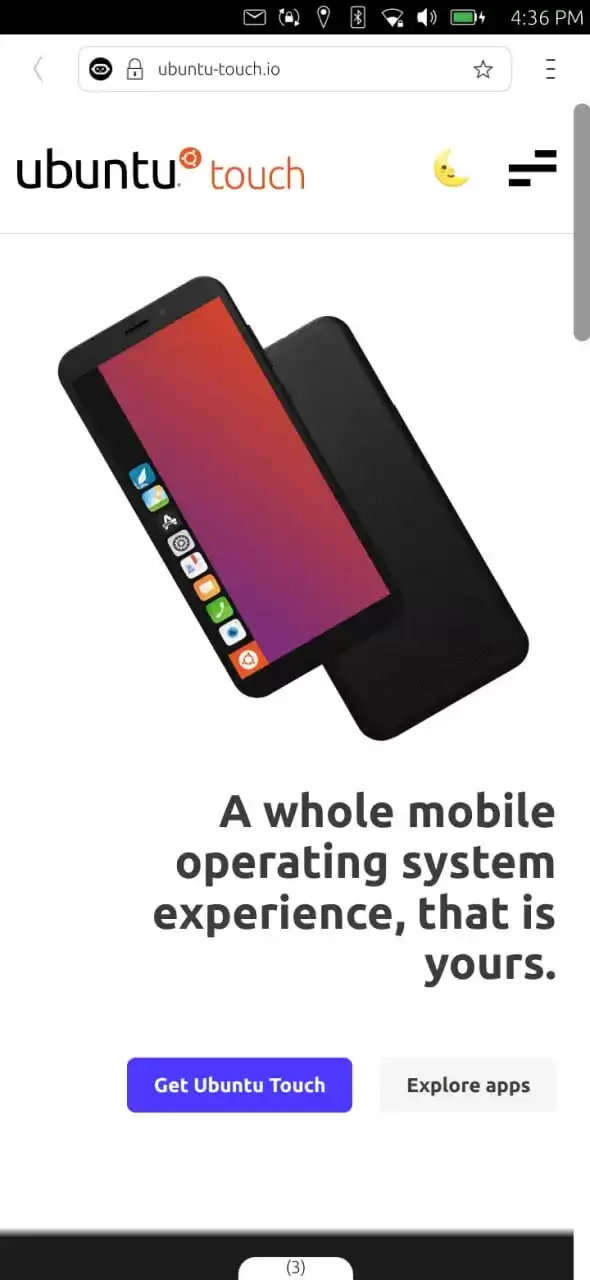
UbuntuTouch24.04-2.0Beta发布,底层升级至Ubuntu24.04,浏览器引擎从Chromium87跃升至134,网页兼容性显著提升;新增屏幕刘海区域自动适配、截图编辑器、网络指示器改进、移动数据可靠性增强、数据加密稳定,并新增NothingPhone(1)等设备支持。
ufw status仅显示高层策略和显式添加的规则(如“80 ALLOW Anywhere”),不反映默认策略绕过、IPv6独立规则、Docker等直写nftables的bypass规则,也无法体现本地回环流量不受管控等底层细节。Ubuntu 默认用 ufw 管理防火墙,但规则实际由 nftable

锁屏背景和桌面壁纸之所以不同,是因为GNOME默认会复制桌面壁纸,然后强制叠加高斯模糊和亮度调整效果,这个效果是由lockDialogGroup的CSS来控制的。要是想去除模糊,建议使用Control Blur Effect On Lock Screen扩展,把Adjust Sigma设置为0就行。
Ubuntu Swapper(一般就是指Ubuntu的交换分区或者交换文件)在服务器上的应用成效,是由多个因素共同决定的,像服务器的硬件配置情况、工作负载的类型以及交换空间的大小和具体配置等。下面为大家带来一些有关Ubuntu Swapper在服务器上应用效果的一般性评价:正面效果内存管理:交换空间

根本原因是纯命令行tty默认不支持UTF-8及中文字体渲染,locale设置仅影响字符解析逻辑,不解决字体绘制问题;图形终端自带UTF-8渲染,而tty需借助fbterm等工具实现中文显示。为什么终端里中文显示为问号或方块 纯命令行(tty,例如通过Ctrl+Alt+F3进入的界面)默认不会加载UT

通过分析Tomcat日志来提升Ubuntu服务器性能是一个很好的方法。以下是一些步骤和建议,帮助你通过Tomcat日志来优化服务器性能:1. 收集日志首先,得保证你的Tomcat服务器有详细的日志记录配置。在conf/logging.properties文件里,你可以对日志级别和输出格式进行调整。o
直接修改PS1是最为可控且轻量的方法。因为GNOME Terminal主题难以区分提示符、命令输入与输出,而PS1搭配ANSI转义码能够精准地为各个字段上色,并且需要用[ ]进行包裹,以防止光标出现错位的情况。直接改 PS1 是最可控、最轻量的方式,不需要装框架或改终端全局配色。 为什么不用改 GN



AirBuddy 3 是面向 macOS 的蓝牙外设增强工具,可集中查看 AirPods、Beats 与苹果设备电量,提供快速连接、播放控制、电量提醒、桌面小组件和多台 Mac 外设接力等功能。

AirServer macOS版可把 Mac 转换为无线投屏接收端,通过 AirPlay 或 Google Cast 接收手机、平板和电脑画面,并支持多设备同时连接、高清镜像及会话录制,适合家庭娱乐、课堂教学、会议演示和应用展示。

AnyDesk macOS版是一款适用于远程办公、设备维护和客户支持的远程桌面工具,可连接并操作异地计算机,支持文件传输、无人值守访问、会话权限控制及跨平台协作。

Fuzor Windows版是一套面向建筑、工程与施工团队的BIM/VDC平台,可汇集多来源模型和进度数据,完成实时可视化、4D施工推演、场地物流规划、问题检查、成果演示及团队协同。

Gety Windows版是一款本地AI文件搜索工具,可索引电脑中的文档和图片,通过全文搜索、语义检索与OCR快速定位内容,并提供原版式预览、筛选和AI工具连接功能。

iMazing Windows版是一款面向iPhone、iPad和iPod用户的本地设备管理工具,可在电脑上完成多版本备份、照片与音乐传输、信息导出、应用数据管理以及新旧设备迁移。


